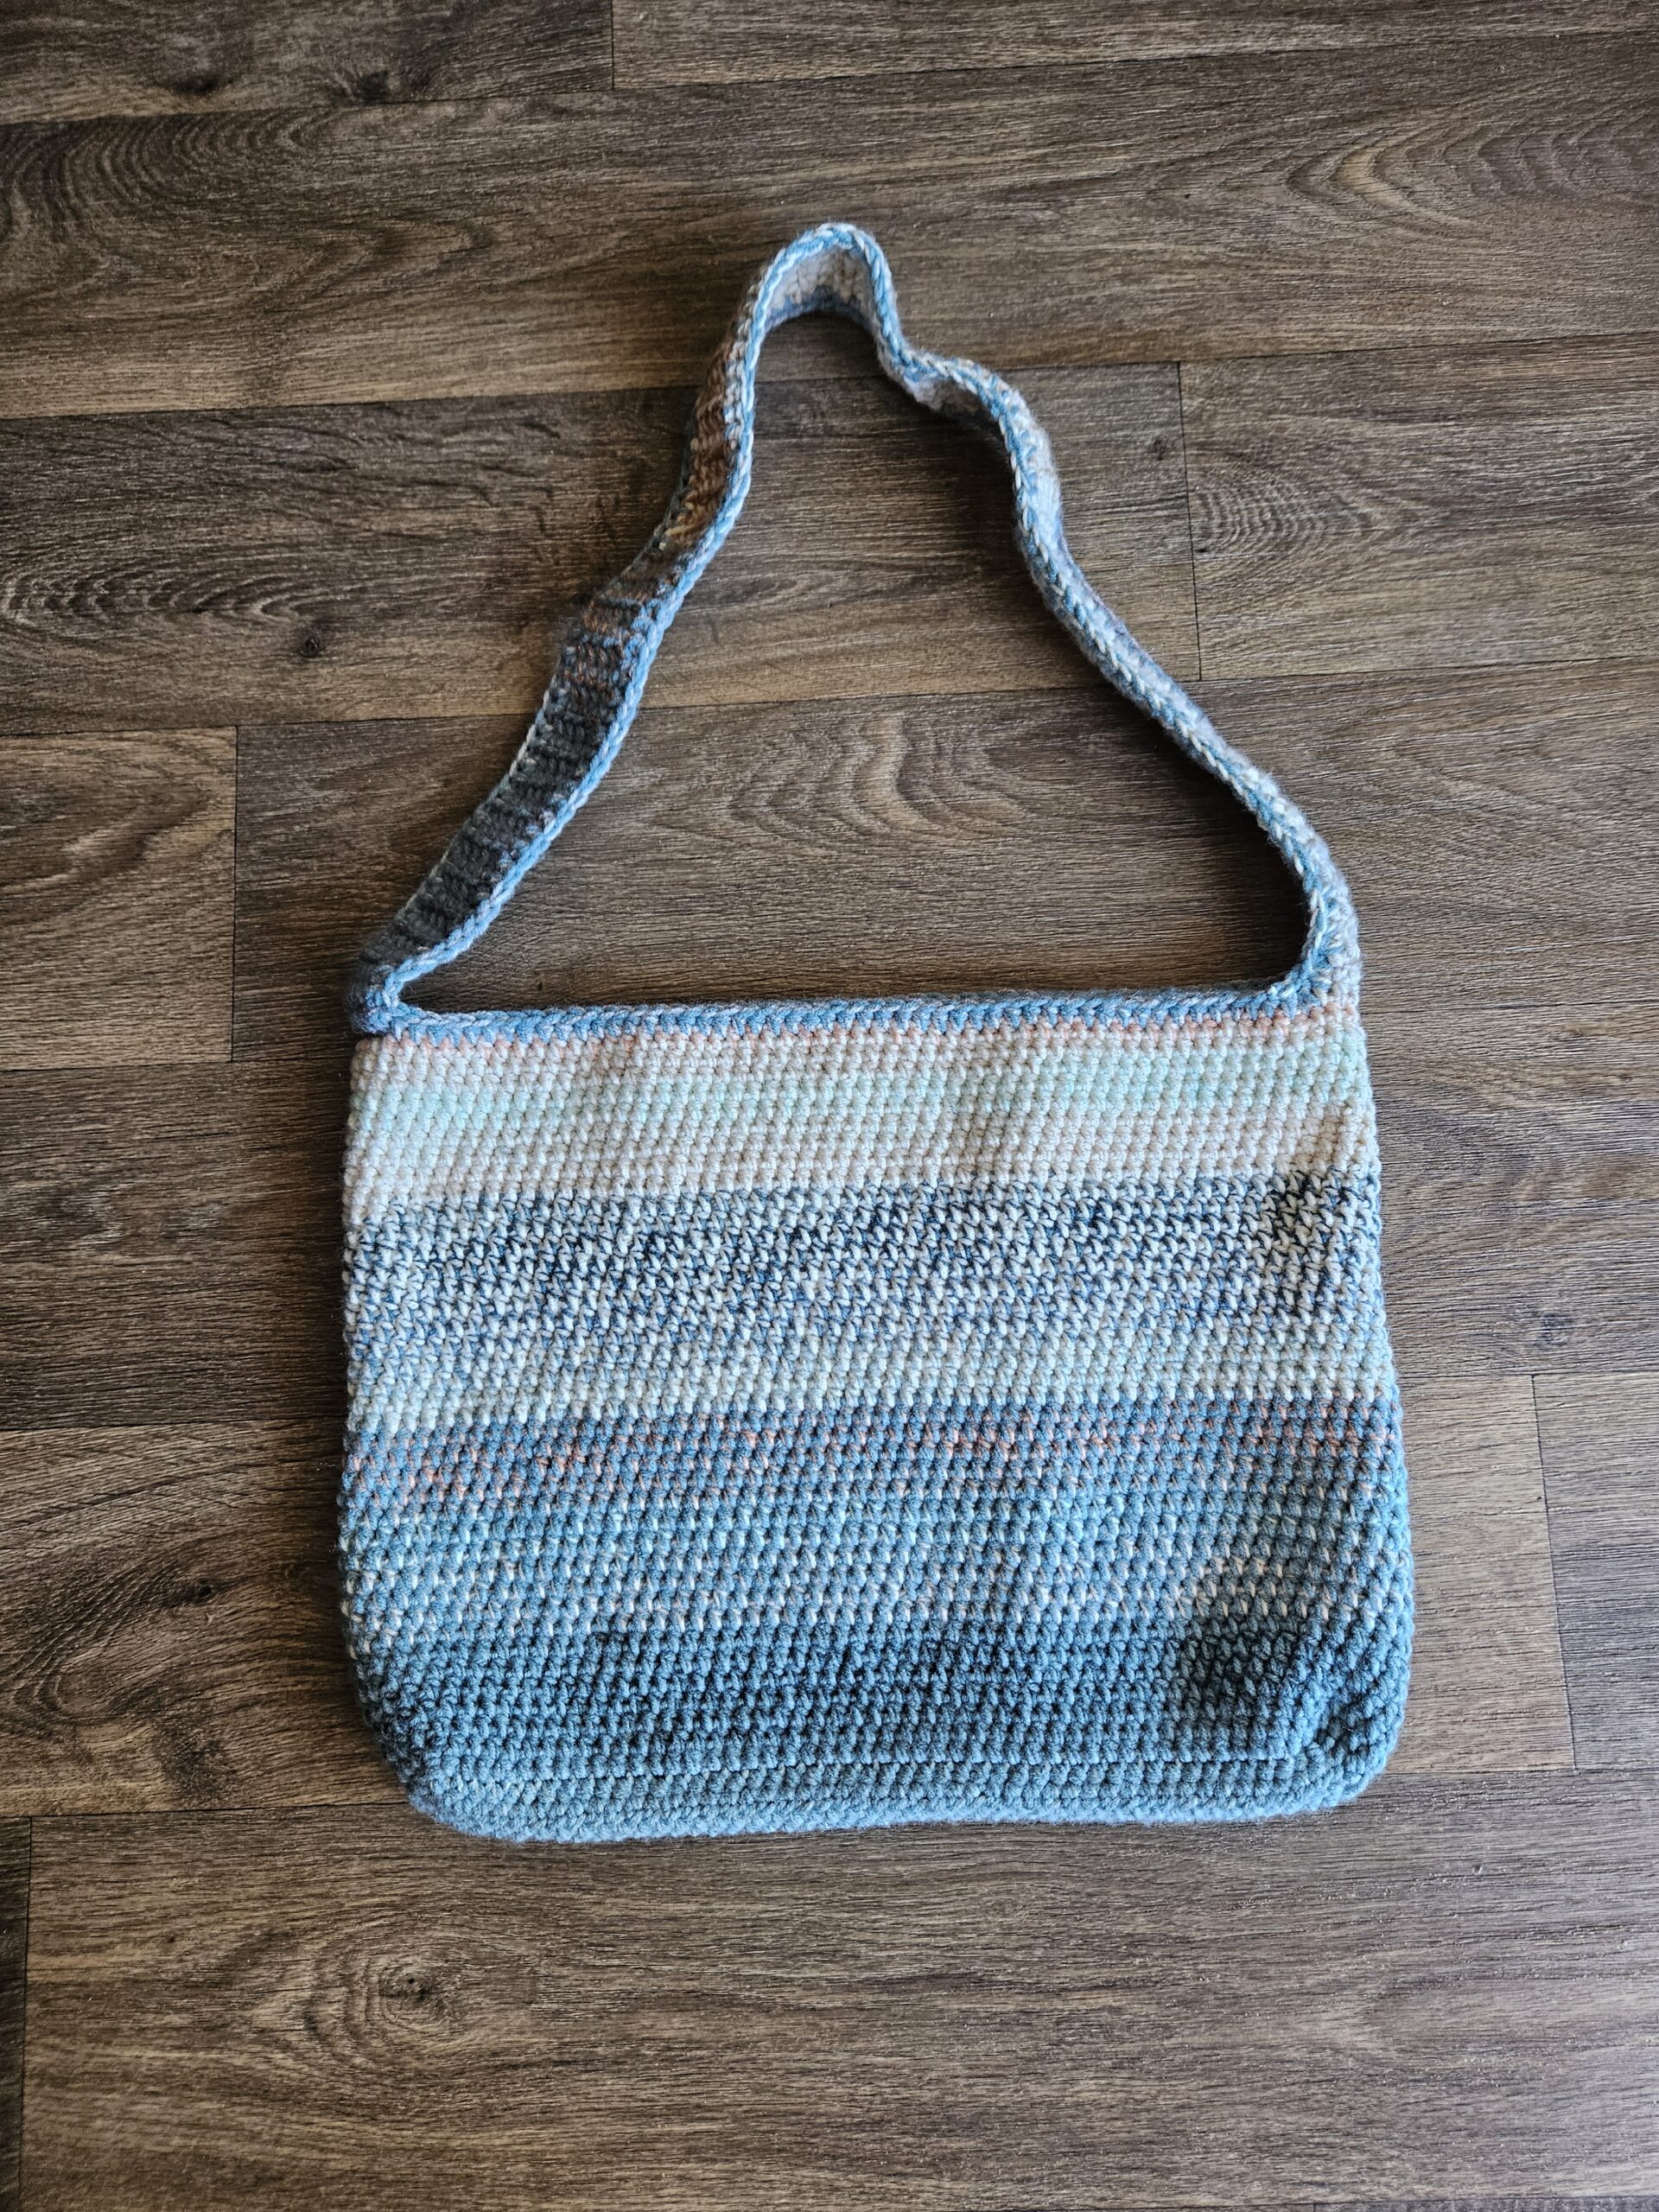
If you’re sick of sewing together your crochet projects, this is the bag for you! This Beginner Crochet Tote bag uses simple stitches and has easy to understand direction to create a super simple tote bag that you’ll make again and again.

Beginner friendly crochet tote bag tutorial
We’re going to start making this bag by creating a base with my favorite stitch to use a half double crochet stitch or hdl, for most of this bag. A hdl is like a dbl or double crochet except you pull through all the loops.
Also what makes this tote bag super beginner friendly is that fact that there is almost no sewing needed for this bag. Instead of working back and forth to make squares to sew together, we are going to work around the bag. Almost making a basket shape. The only sewing is when we sew one end of the handle together, and sewing in our ends.
Yarn
This bag is perfect for any scrap yarn you have laying around. I used Loops and threads, yarn and some left over Cannon yarn I had. The type of yarn that was used was Acrylic! Acrylic is one of my favorite yarns to use. It is accessible, and easy to wash.

Tips and Tricks
- remember to leave enough tail on the yarn to weave in ends.
- Tension matters! stitches and inches are different sizes.
- COUNT YOUR STITCHES!
Notes
- this bag is easy to customize. If you prefer a different size bag its easy to add or subtract stitches to create your perfect bag.
- besides the first chain, you can can also use different stitches if you prefer a looser bag. For example using a dbl instead of a hdl may allow the bag to have more flexibility.
- In this pattern I am using two different strands of yarn to crochet together to make this bag. This is my preference when making this bag. It allows the bag to have more structure. If you want you can use different yearn types or even use only one strand of yarn. This will change the pattern I am using.
- Use a hook size that is appropriate for your yarn. I am using a 5.5mm hook because I have two strands of yarn. But again if you are using a different weight of yarn or are using one single strand a different hook would be better.
- I use US crochet Terminology
Supplies:
- 5.5mm hook
- scissors
- Yarn
- Tapestry needle (to sew in ends)
- Tape measure
- Stitch Markers
Stitches used/ Abbreviations:
- Chain – ch
- Half Double Crochet – hdc
- Slip Stitch – sl st
If you prefer to watch this tutorial check out this YouTube video where I give detail instructions on this tutorial.
Follow me on my social medias and make sure to tag me in your finished bag!
Tote Bag
Row 1: ch 50 or 13 1/2 inches
Row 2 – 7: ch 1 turn, hdc into each stitch
Note: Row 7 should end on the same side you started
Row 8:
Step 1 – Instead of going back and forth we are going to go around the edge. Fit 7 hdc into the edge (1 hdc in every stitch). The 7 hdc should get you across the side to your very first ch.
Step 2 – hdc along the first 50 ch or the 13 1/2 inches we ch in the beginning.
Step 3 – Again we’re going to put 7 hdc along the side ( 1 hdc in every stitch).
Row 9 – 49: Continue working hdc around the bag until 13 1/2 inches Length or until you reach row 49.
Handle
Step 1 – lay the bag flat to find where the bag folds at the ends.
Step 2 – put one stitch marker at each end in the center.
Step 3 – At one end count two stitches over from the stitch marker. sl st into this stitch.
Step 4 – hdc into the same stitch. hdc toward the stitch marker for 4 more hdc, thats a total of 5 hdc.
Step 5 – ch 1 turn, hdc in the next 5. Continue this step until the handle length is 40 inches or Row 97
Step 6 – sl st handle into the other side lining it up with the other stitch marker.
Step 7 – hdc along the edge of one side of the handle/ bag and the other to finish the project with a hem.
If you have any concerns or questions leave a comment below.