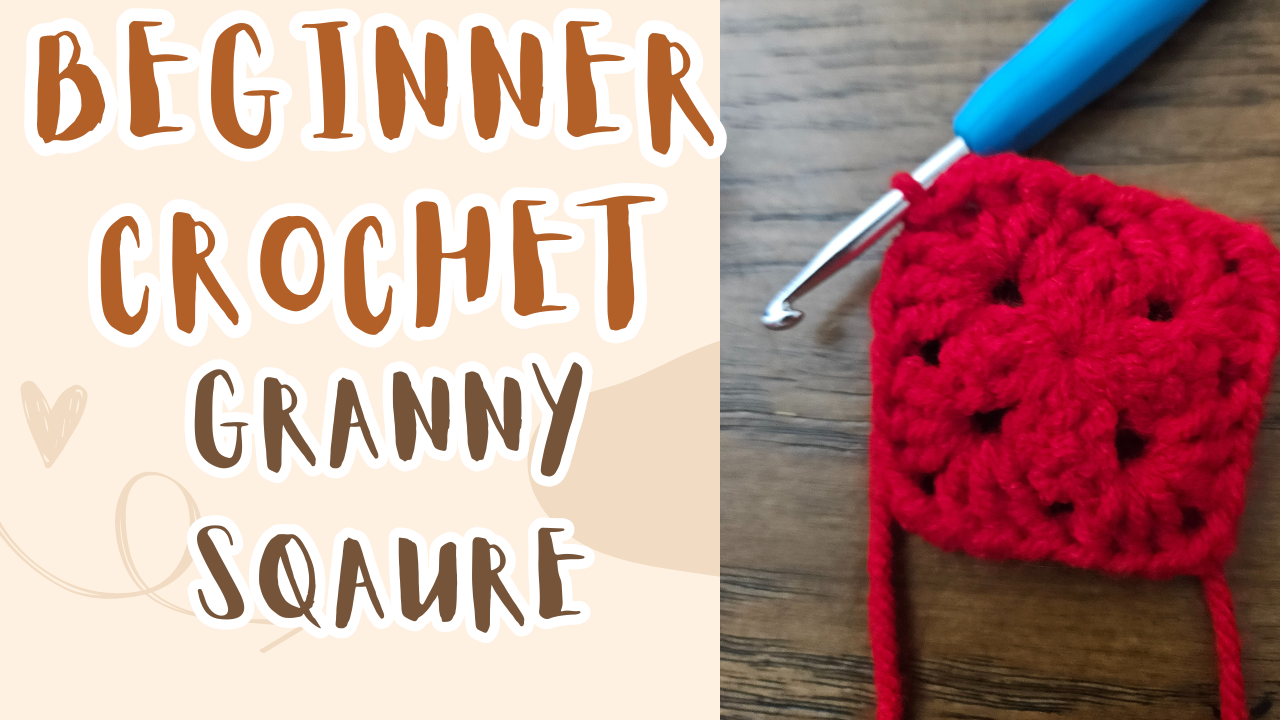
The most versatile crochet project, The Basic Crochet Granny Square. Create what you want with this starting tutorial by using the granny square to make bags, clothes, or even a blanket.

Beginner Friendly Granny Square Crochet Tutorial
The Basic Crochet Granny Square is perfect for any beginner crocheter! When I was first starting out I loved making granny squares. One of my very first projects was a granny square vest. They really are perfect for any project. You can use them to make bags, clothes, blankets, and even gifts.

The Perfect Crochet Granny Square
The Basic Crochet Granny Square can be made into many different sizes to fit the project you are working on. Starting all granny squares with a magic ring. After securing the magic ring, next follow the same pattern, row after row. Three double crochet along the sides, and when I get to the corners I put three doubles crochets, chain two, and three more double crochets. This pattern can be repeated over and over again. If you want to make big or small Granny Squares the same pattern is repeated. Connect each row with a slip stitch, and then start each row with a chain two and turn.
Yarn
For this tutorial I used Loops and Threads Acrylic yarn. I wanted to make this tutorial accessible, with yarn that is easy to find in most craft stores. Acrylic yarn is able to washed, it’s durable, and easy to use! Although any yarn is able to be substituted, like any tutorial your finished product might not look like mine. I highly recommend Acrylic yarn (any type).

Notes
- The Basic Crochet Granny Square can be made in many different sizes, they can be small and sewn together, or you can make a giant one, the size of a blanket.
- I use a magic ring to start my granny squares. Some people prefer the chain four method, but I do not go over the chain four method in this tutorial.
- I use US crochet terminology
- The size of the granny square I’m making for this tutorial is five rows.
Supplies
- Yarn
- 4 mm hook (optional size, use what’s recommended for your yarn)
- tapestry needle (to sew in ends)
- Scissors
Stitches used/ Abbreviations:
- Magic ring
- Slip Stitch – sl st
- Double Crochet – dbl
- Chain – ch
If you prefer to watch this tutorial check out this YouTube video where I give detail instructions on this tutorial.
Follow me on my social medias and make sure to tag me in your finished Granny Square!
Granny Square
Row 1:
- Magic Ring, next secure with a ch 2.
- 3 dbl into magic ring, ch 2, 3 more dbl into ring, ch 2, 3more dbl into ring, ch 2, 3 more dbl into ring, ch 2,and sl st into first ch 2.
Row 2:
- Side 1 – ch 2 turn, 3 dbl into same space as the ch 2.
- 2 – In the next open space 3 dbl, then ch 2, and put 3 more dbl into same space
- 3 – next space 3 dbl, ch 2, and 3 dbl into same space.
- 4 – In the next space add 3 dbl, then ch 2, also 3dbls in same space, next space 3dbls, ch 2, sl st.
Row 3:
- 1 – ch 2 turn, 3dbls in next three spaces, ch 2, 3 dbls in same space.
- 2 – 3dbls in the next 2 spaces, ch 2, 3dbls in same opening.
- 3 – 3dbls in the next two spaces, ch 2, 3dbls in same opening.
- 4 – 3dbls in the next two spaces, ch 2 sl st.
Row 4:
- 1 – ch 2 turn, 3dbls in next four spaces, ch 2, 3dbls in same space.
- 2 – 3 dbls in the next three open spaces, ch 2, 3dbls in the same opening.
- 3 – 3dbls in the next three open spaces, ch 2, 3dbls in the same space.
- 4 – 3dbls in the next three open spaces, ch 2 sl st.
Row 5:
- 1 – ch 2 turn, 3dbls in next five spaces, ch 2, 3dbls in same space.
- 2 – 3 dbls in the next four open spaces, ch 2, 3dbls in the same opening.
- 3 – 3dbls in the next four open spaces, ch 2, 3dbls in the same space.
- 4 – 3dbls in the next four open spaces, ch 2 sl st.
This is where I stop for my Granny Square, but If you want to make a bigger size, just continue the same pattern.